SimBA behavioral annotator GUI
The behavioural annotator GUI is used to label (annotate) frames extracted from experimental videos that contain behaviors of interest. SimBA appends the behavioral annotations directly to the pose-estimation tracking dataframe to build supervised machine learning predictive classifiers of behaviors of interest. Specifically, this GUI integrates two additional consoles with the main SimBA console: (1) a video player and (2) a frame viewer. The video player and frame viewer are synced, such that pausing or starting the video will advance the frame viewer to the identical frame that the video was paused or started at. The frame viewer is then used to annotate when behaviors of interest are present or absent within the given frame. Such annotations can be flexibily annotated from single to numerous frames using the annotation interface. Please see “Step 3. Labelling” below for detailed instructions on these functions.
Note that SimBA performs similar functions such as the open-source JWatcher or commercial Noldus Observer systems, with the exception that SimBA automates the backend integration of behavioral annotation with creating predictive classifiers. If you already have such annotations stored in alterantive file formats, like JWatcher or Noldus Observer, they can be appended directly to the tracking data and no behavioral annotations needs to be done in SimBA. For example, the Crim13 dataset was annotated using Piotr’s Matlab Toolbox and we appended the annotations to the tracking data using a version of this script.
If you already have annotation videos created with these alternative tools, or any other behavioral annotator, and would like to use them to create predictive classifiers, please let us know as we would like to write scripts that could process these data for SimBA. If you have created such scripts yourself, please consider contributing them to the community!
We will provide support in either scenario.
Step 1. Loading project_config file
In the main SimBA menu, click on File > Load Project > Load Project.ini > Browse File and select the config file (project_config.ini) for the current project. This step must be done before proceeding to the next step.
Step 2. Opening labelling behavior window
In the ‘Load project’ window, under Label Behavior click on Select video (create new video annotation). This will prompt you to select a vidoe file. If you have previously annotated some frames and would like to continue your annotation, click on Select video (continue existing video annotation)
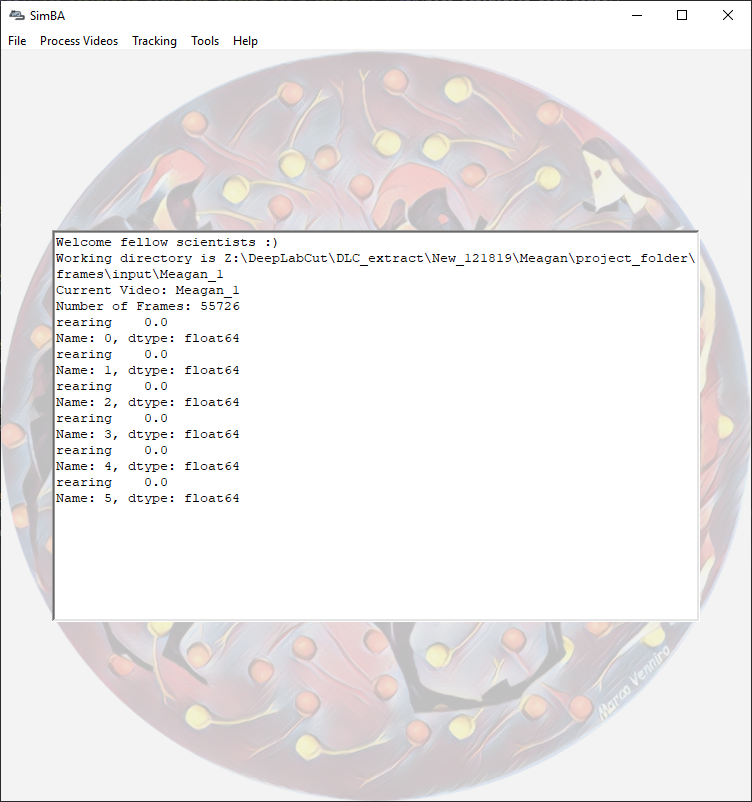
Note
At any time, the user can refer to the main screen window to see the values of the frame. In the picture above, Name is the current frame number.
Step 3. Labelling
Under the Check Behaviors heading is a list of checkboxes, one for each classifier that were specified when the project was created. Users can check (or uncheck) the boxes if the frame displays the behaviors. When the user press Save and Advance to the next frame the behavioral data for that particular frame is saved.
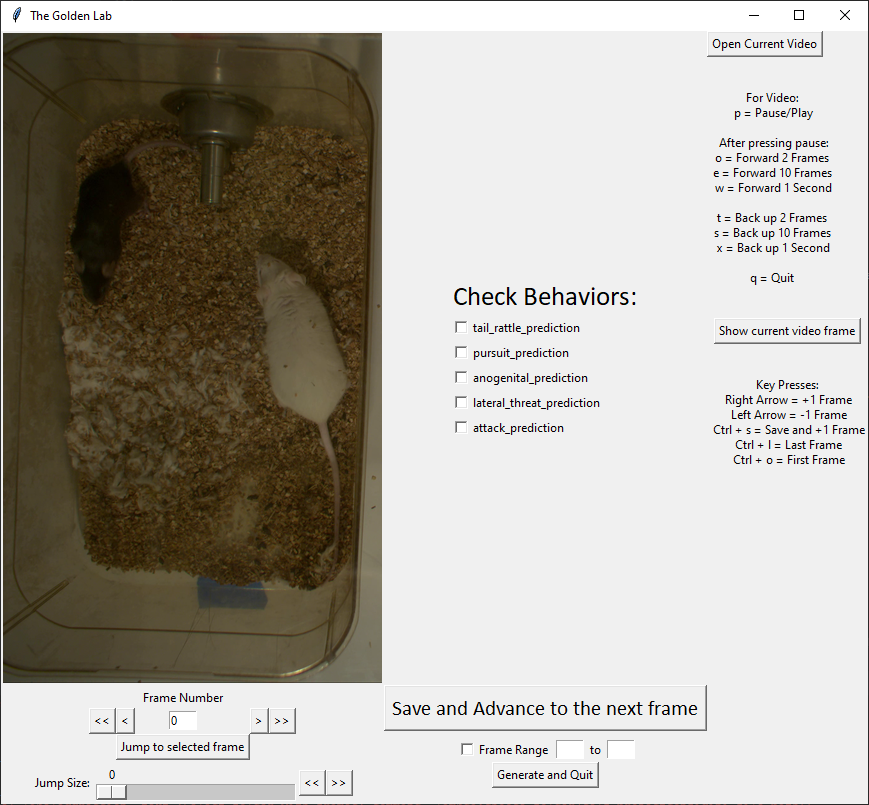
Using Mouse
<<jump to the first image frame in the folder
>>jump to the last image frame in the folder
<go back to the previous frame
>advance to the next frame
Jump SizeYou can select a range of frames to advance or jump backwards. When you then press the<<or>>buttons to the right of the scale, the frames advance or go back the Jump Size frame count indicated.
Jump to selected frameYou have the option to manually enter a frame number into this entry box, which will then display the corresponding image.
Frame RangeBy selecting this box and entering a range of numbers in the adjacent entry boxes, saving and advancing to the next frame will save all frames in the Frame Range, inclusive, as containing the marked behaviors.
Generate and QuitThis will compile and export the data to a .csv file located in theproject folder\csv\targets_inserted\that contain the behavioral annotations.
Keyboard Shortcuts
Keyboard shortcut information is displayed on the right side of the window for ease of use.
For Videoshortcuts are only applicable for navigating the video when opened, and have no effect on the displayed frame.
Key Pressesallows users to jump from frame to frame as well as saving frame information by using the keyboard.
Tip
If using Ctrl + S to save, do NOT hold down keys to save multiple frames. Please just hit multiple times.
Playing Video
Open Current VideoPressing this button will open the video that corresponds to the frame folder that is being analyzed. Refer to keyboard shortcuts to pause/play and move forward or backwards in the video by a certain amount of frames.
Show current video frameThis will display the current frame of the paused video on the labelling screen.
Note
Video name must be the same as the folder name. The video must also be paused by pressing p before any other keyboard command (such as moving forward or backwards a set number of frames).